2 Migliori modi per registrare audio in Windows 11
There are many uses for avoice recorder for Windows 11. You want to record a podcast, interview, or lecture and share it with your online friends or save it for future use. Alternatively, you might want to record the perfect ringtone for your phone or alarm. Regardless of what uses you need a Windows 11 voice recorder for, this is the ideal guidepost. We'll dig deep to uncover the perfect sound recorders for Windows 11 and discuss the detailed steps to use Windows 11's inbuilt voice recorder and an excellent third-party program. Ready to learn?
In this article
Part 1. What is Voice Recorder in Windows 11?
Windows 11 Voice Recorder is an inbuilt application for recording audio using your computer's microphone. This sound recorder app for Windows 11 is straightforward to use, with basic recording and playback functions. It can record lectures, voice calls, meetings, interviews, or any other sound you want to capture. After recording the audio, the application allows you to save the recording as a standard audio file, such as MP3, FLAC, WMA, or WAV. Users can also edit their recorded audio by trimming and splitting before sharing directly from the application.
It's a built-in app for your Windows 11 PCs. And if this program is not pre-installed on your computer, click this link to open Windows Sound Recorder on Microsoft Store and install it. Confirm that the app is from Microsoft Corporation.
Part 2. How to Record Audio in Windows 11 with Voice Recorder?
Now let's discuss the steps to enen
enen:
en
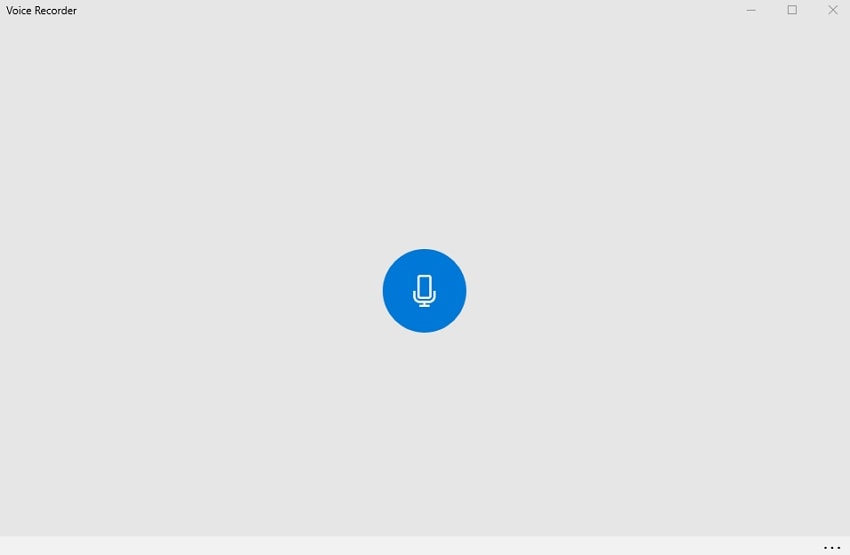
en
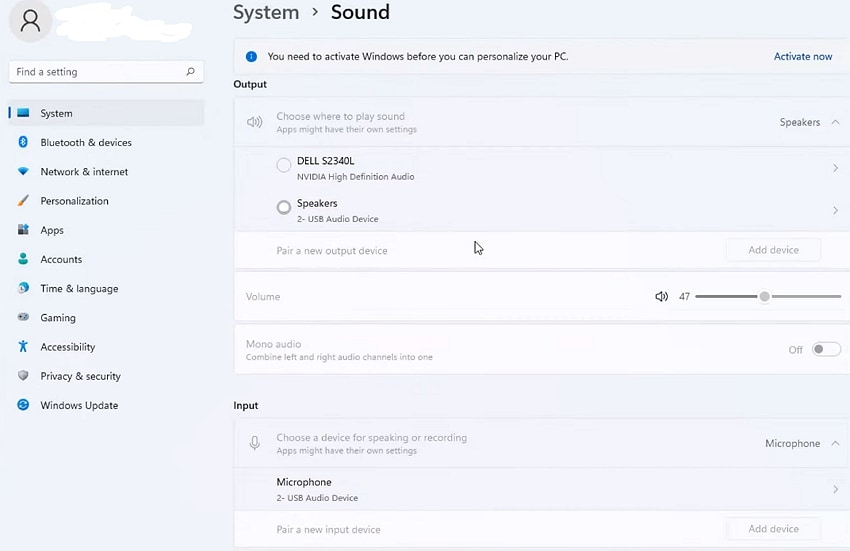
enenenenScorciatoia per catturare audio. Ora parla o riprova il suono che vuoi registrare. Questa applicazione registratore vocale ti mostrerà il tempo di registrazione e il livello del suono.
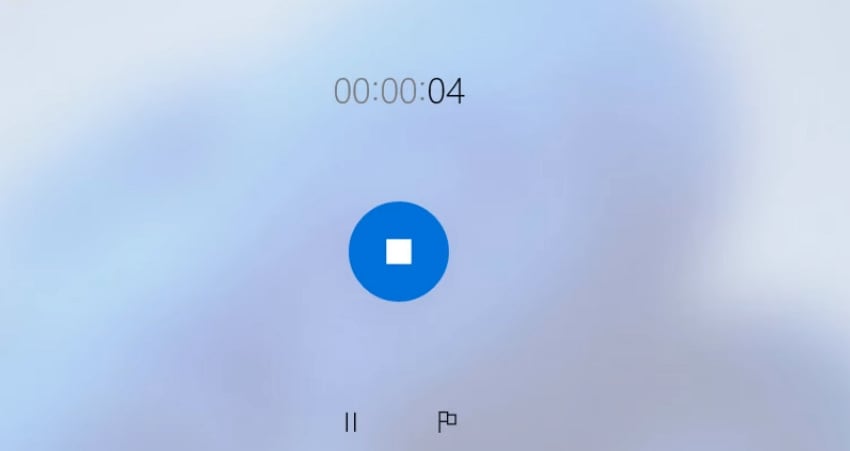
Passo 4. Tocca suFerma...Pulsante con un'icona quadrata per interrompere la registrazione di audio o suoni. Il suono registrato apparirà nell'app con un titolo che inizia con "Registrazione". Naturalmente, puoi fare clic sul titolo per modificarlo di conseguenza. Riproduci il suono registrato toccando il pulsante Riproduzione e utilizzare lo stesso controllo per pausare e riprendere la riproduzione facendo clic.
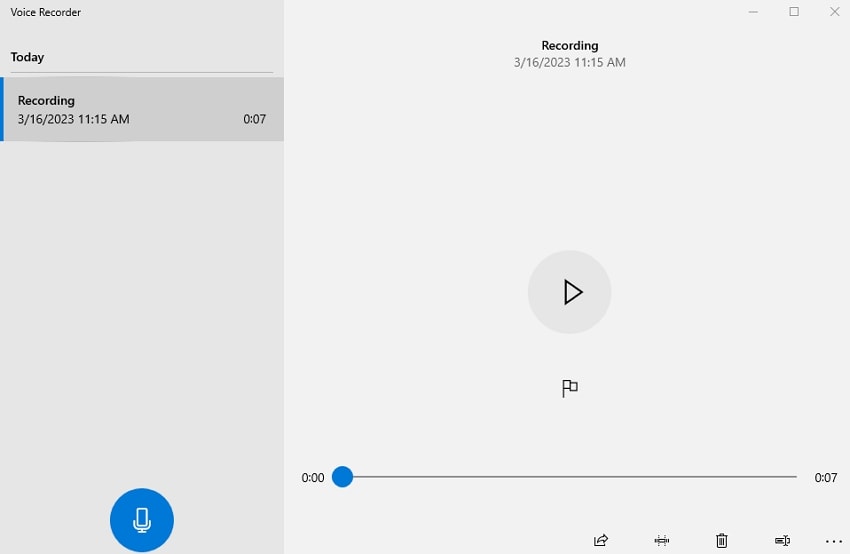
Passo 5. Non fermarti qui. Windows 11 Voice Recorder dispone anche di un editor audio intuitivo per tagliare e dividere il suono registrato. Questo ti aiuterà a rimuovere qualsiasi graffi o rumori di fondo indesiderati. Per modificare l'audio, toccaLa decorazioneIcona nell'angolo in basso a destra e selezionare i nuovi punti di inizio e fine utilizzando il cursore.
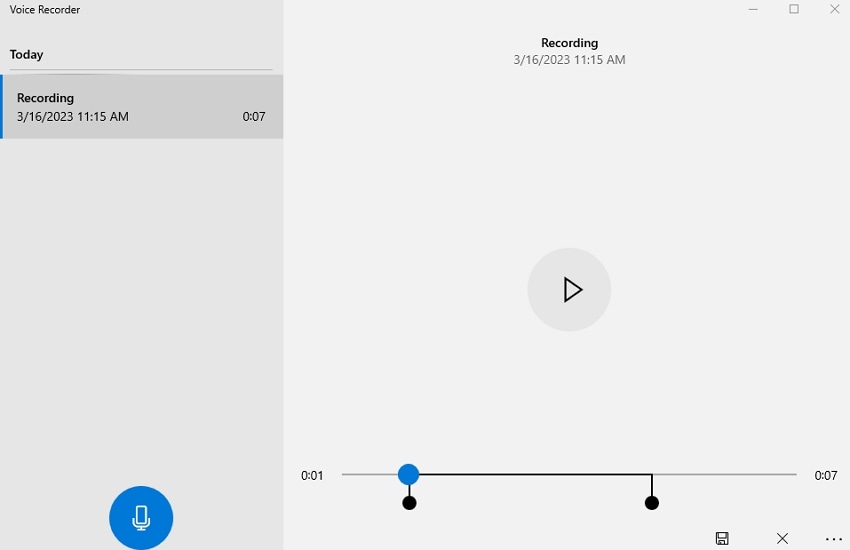
Passo 6. Una volta soddisfatti del suono registrato, salvarlo facendo clic sulCondividerePulsante per esportare in e-mail o OneNote. Puoi anche toccareSupprimerbouton avec une icône de poubelle pour effacer l'enregistrement et recommencer à zéro. C'était rapide et facile, non?
Partie 3. Comment enregistrer l'audio sous Windows 11 avec DemoCreator [Recommandé]
Windows 11 est sans aucun doute un excellent moyen d'enregistrer le son sur Windows 11 sans dépenser un sou. Cependant, ce programme est assez basique, comme on pourrait s'y attendre d'un enregistreur vocal gratuit pour Windows. Dans ce cas, nous voulons vous présenter Wondershare DemoCreator. Ce programme est principalement un enregistreur vidéo tout-en-un pour capturer des vidéos au look professionnel sur Windows/Mac.
Mais comme prévu, DemoCreator propose également une fonction d'enregistrement audio pour capturer l'audio du système, l'audio du microphone ou les deux. Il est parfait pour créer des vidéos narrées, des tutoriels vidéo ou des présentations en direct nécessitant un commentaire audio. L'enregistreur audio peut également capturer les sons du système tels que la musique, les bandes sonores vidéo ou autres sons d'application au format MP3.
À l'aide de différents outils, les utilisateurs de DemoCreator peuvent modifier et améliorer leur audio enregistré. Il propose des fonctions de réduction du bruit et de normalisation du volume. Vous pouvez également utiliser la fonction de découpage pour supprimer les scènes audio bruyantes ou indésirables de l'enregistrement sonore. Dans l'ensemble, ce programme vous aidera à produire un son clair et net.
Comment capturer l'audio sous Windows 11 avec DemoCreator :
Étape 1. Lancez Wondershare Screen Recorder.
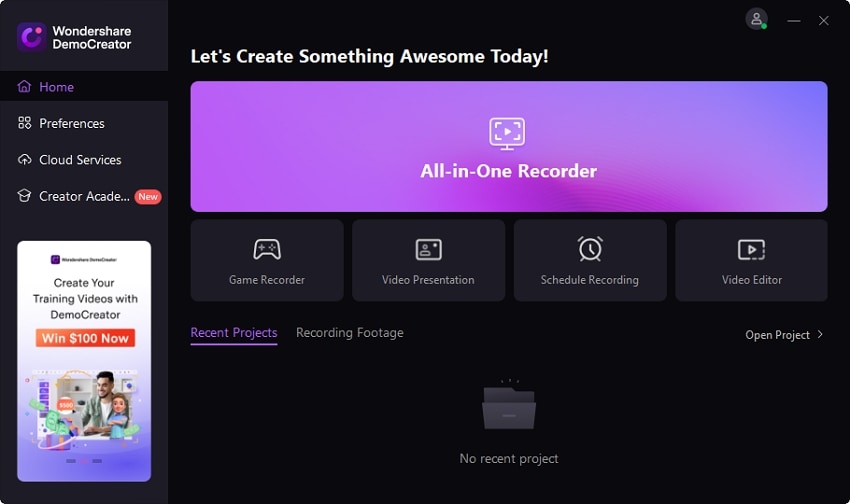
Install and run Wondershare DemoCreator on your Windows 11 computer, then tap the All-in-One Recorder button. The screen recorder feature will launch instantly.
Step 2. Select the input and output devices.
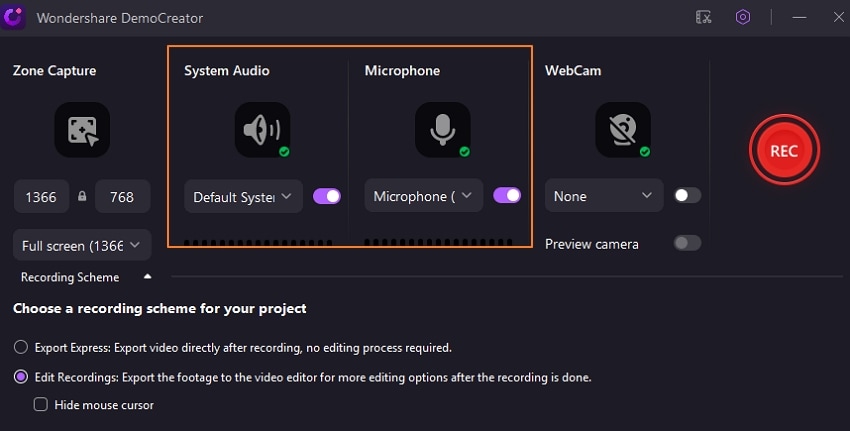
Because we are only interested in recording audio, don't bother setting the capture area, webcam, aspect ratio, etc. Instead, proceed to choose your input microphone and output sound device. As expected, you can disable the sound output system and capture microphone narration only.
Step 3. Record sound and export it in audio format.
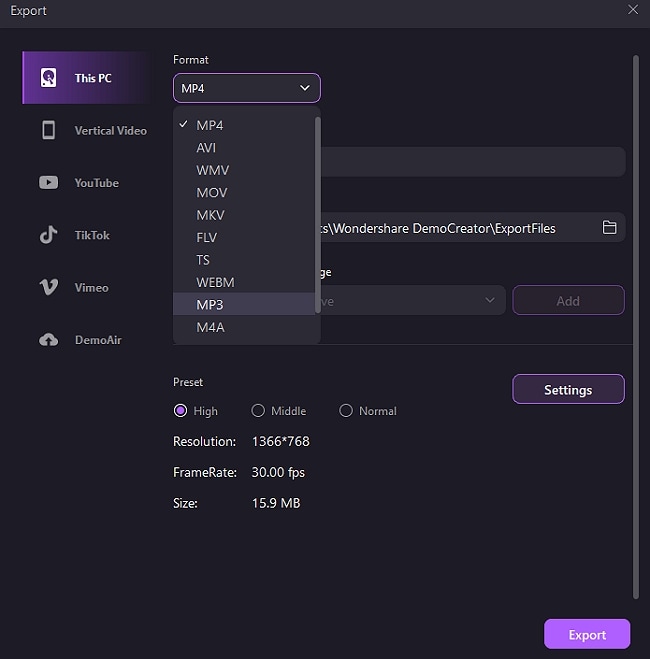
Once everything is ready, tap the en button to start making microphone narrations. After capturing enough sound, click Ferma..., and the recorded sound will automatically open on the inbuilt DemoCreator editor. Here, you can edit the sound by trimming, splitting, merging, adjusting volume, and more. Lastly, tap Export and choose MP3 as the target format. And that's how to extract audio from video on Windows 11 using DemoCreator.
Conclusion
See, it's easy and free to record audio on Windows 11 computers. With a sound recorder for Windows 11, you can capture calls, lectures, and more without breaking a sweat. But because this program has limited capabilities, try an all-in-one solution like DemoCreator. This tool can help you capture almost anything on your PC, including avatar recordings. Please give it a go!


David
chief Editor
0 Commento(i)